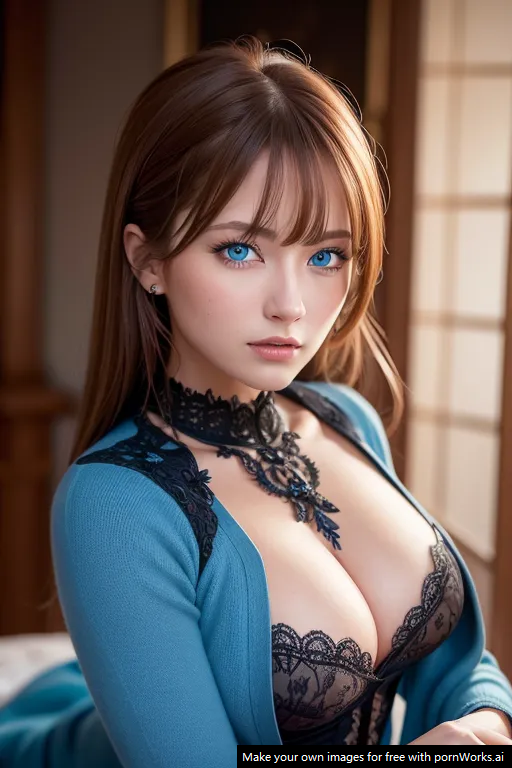
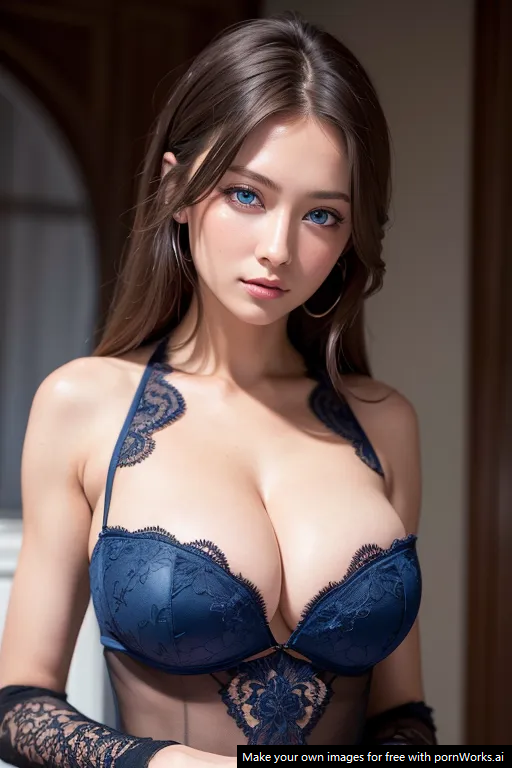
Basic Settings
Here are some basic settings to help you quickly start using the AI Art Generator:

Prompt
The prompt is the keyword or phrase you want the AI to use when generating an image. You can use tags (such as girl, hotel, night) or use phrases. Please note that the AI only understands English. In addition to filling in the prompt text, we may also use words like high res, best quality to tell the AI to generate higher quality images. You can also adjust the AI’s attention to specific tags using (word:weight), such as (t-shirt:1.3), which means that the weight of t-shirts is adjusted to 130%.
Negative Prompt
The negative prompt is the content you don’t want the AI to generate. We usually add paintings, sketches, (worst quality:2), (low quality:2), (normal quality:2) to tell the AI not to generate low-quality images or low-effort paintings. If you find that the AI often generates content you don’t like, such as necklaces, you can also add necklace here to reduce the probability of the AI generating necklaces.
Image Size
The size of the image has a significant impact on what the AI generates since it affects the image’s composition. If the canvas is vertical, the generated image may feature a standing person, while a horizontal canvas may produce person lying down. Furthermore, larger canvases tend to incorporate more people and content.
If you wish to generate large images but do not want the AI to depict many people, PornWorks AI offers 4x Upscale, which you can perform after generating the image.
| 512x768 |
768x512 |
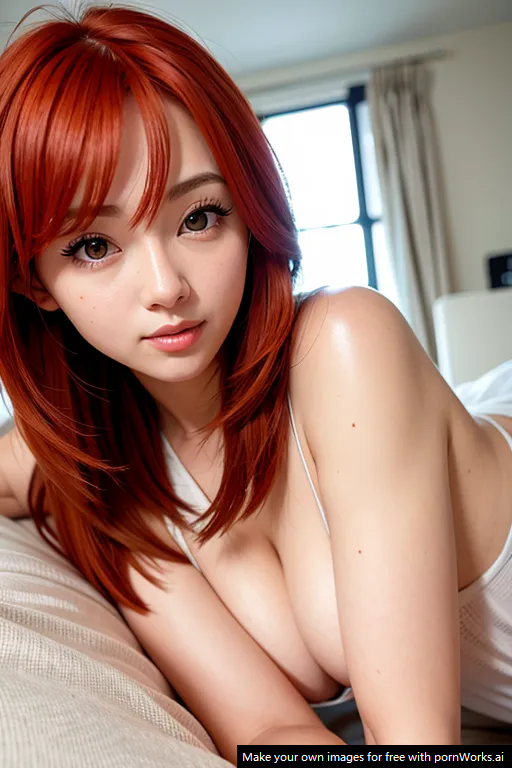 |
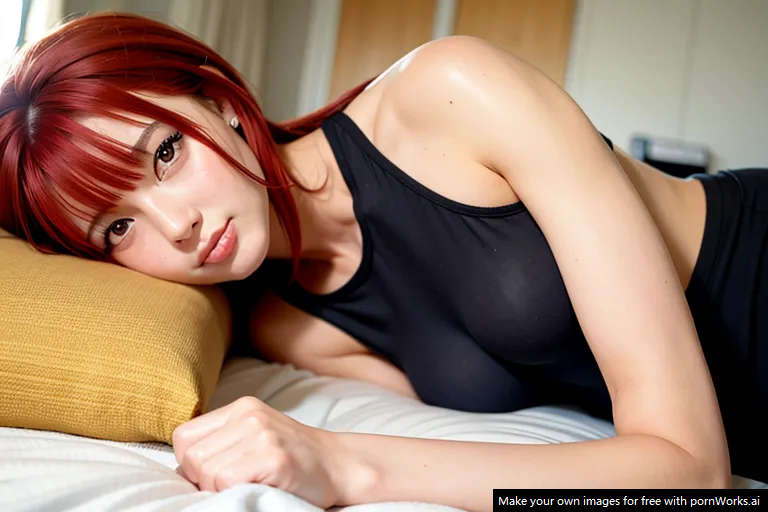 |
Model
PornWorks AI offers three models: two for real people and one for anime. You can choose the model that best suits your preference.
Lora/Embedding
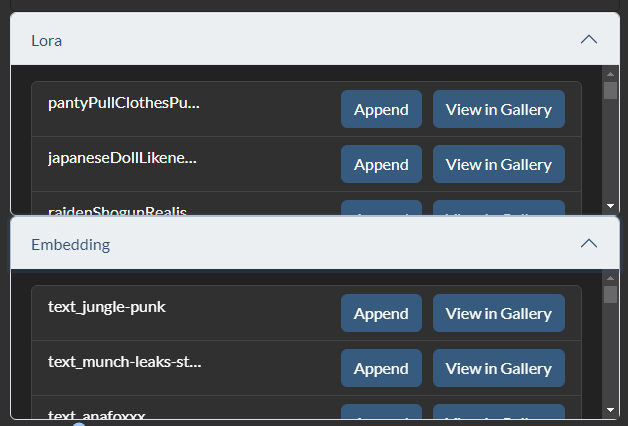
PornWorks AI supports additional plugins, such as Lora and Embedding. We have listed all the plugins that we support, but please note that these plugins can significantly affect the output of the image and may be incompatible with each other. This is an advanced technique, and you can try using them one by one to understand their effects. Alternatively, you can browse the effects generated by others in the community gallery at community
In this example, we combined two Loras, <lora:japaneseDollLikeness_v10:0.1> and <lora:russianDollLikeness_v3:0.1>, and gave them only 0.1 (10%) weight to obtain a mixed-race effect.
When working with Lora, it’s possible for AI to overlook the prompt. To address this issue, we can decrease the weight of Lora, which can improve the AI’s adherence to the prompt while still incorporating some stylistic elements from Lora. However, if you require detailed customization, it’s advisable to avoid using Lora.
Steps
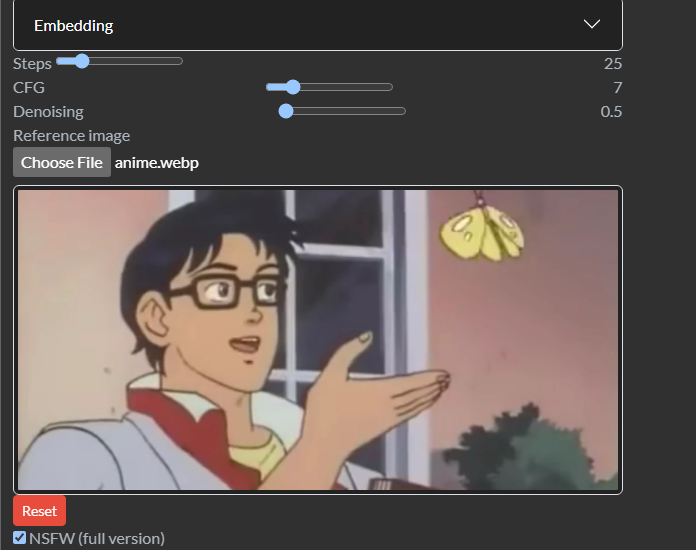
Steps refers to the number of calculations performed by AI when generating an image. It is generally recommended to use a number between 25 and 50. If the prompt requires the generated image to have few complex details, 28 steps are sufficient. The effect on the image is not very noticeable after exceeding 50 steps. If you want to quickly test the effectiveness of the prompt, you can reduce the number of steps to preview the effect faster.
Reference Image
In addition to generating images from text, AI can also be guided by uploading a reference image. The degree to which AI uses the reference image depends on the strength of the denoising setting.
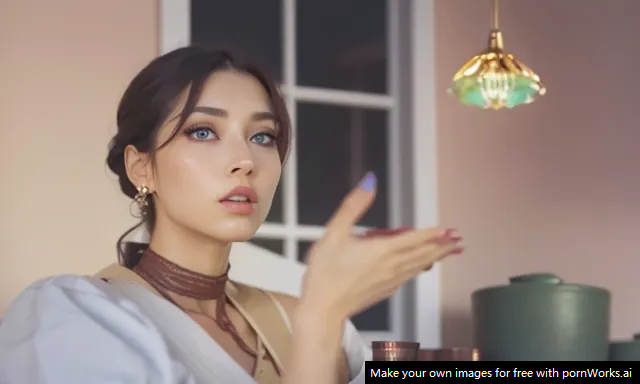
In this example, we used a denoising strength of 0.5. Taking into account the aspect ratio of the image, we set the image size to 640 x 384. Note: You can always upscale an image later on.
Prompt: 1girl, best quality, ultra-detailed, masterpiece, finely detail, highres, 8k wallpaper, looking at viewer, blue eyes, , <lora:japaneseDollLikeness_v10:0.1>, <lora:russianDollLikeness_v3:0.1>
Denoising Strength
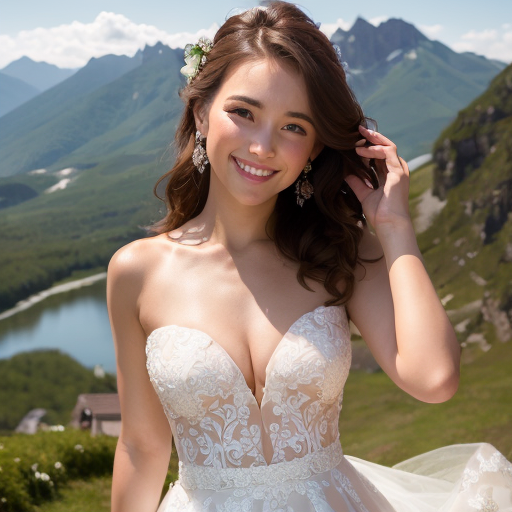
The denoising strength parameter is only applicable when using inpainting or referencing an image. It can be thought of as the AI’s strength, determining how much the generated result deviates from the reference image. A low strength value gives more weight to the original image. On the other hand, a high strength value makes the generated content less related to the reference image.
If the inpainted part of the image appears as random colors while using the inpaint function, it indicates that the denoising strength is too low. For the best results with inpaint, we recommend setting the strength to at least 0.8.
| Reference Image |
Denoising Strength |
| Original Image |
Strength 0.5 |
 |
 |
| Strength 0.6 |
Strength 0.7 |
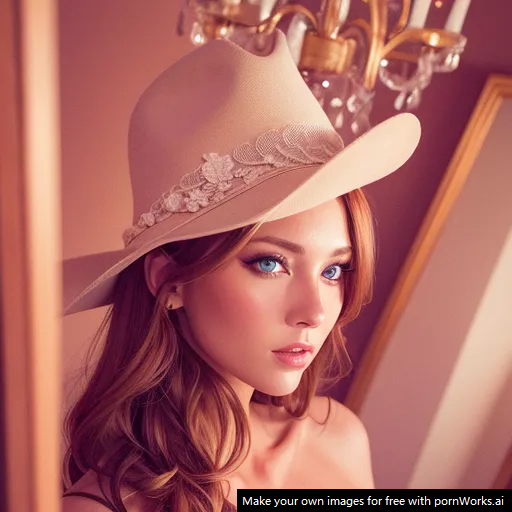 |
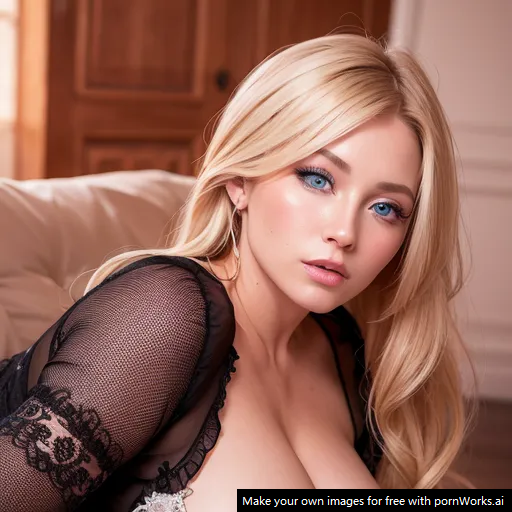 |
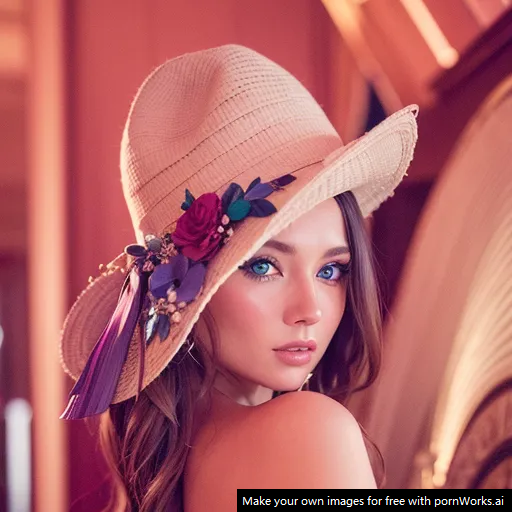
Prompt: 1girl, best quality, ultra-detailed, masterpiece, finely detail, highres, 8k wallpaper, looking at viewer, blue eyes, blonde natural beauty
Based on the figure shown, when the denoising strength is lower, AI modifies the image based on the original image, while a higher denoising strength causes AI to learn the overall atmosphere of the original image. To avoid image distortion, we recommend that the prompt should be similar to the reference image.
Image Inpainting
After generating an image, you can make local adjustments using image inpainting. The following are the steps and effects of local adjustments:”

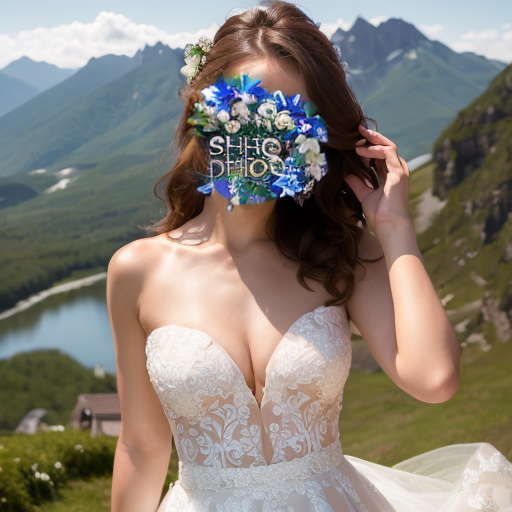
Firstly, click the image inpainting button.
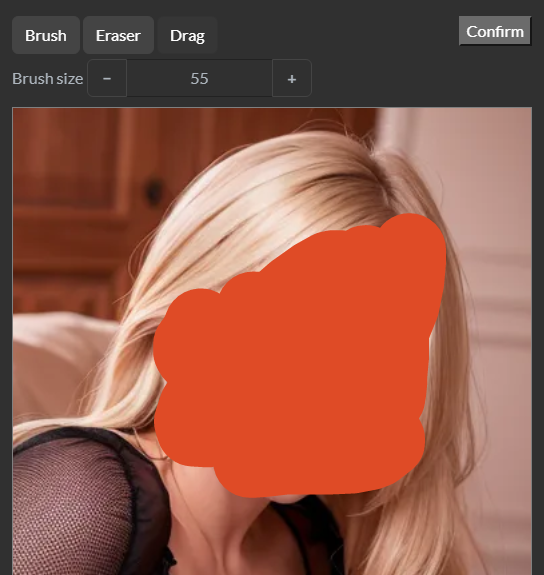
Then, paint over the unsatisfactory parts.

After clicking confirm and returning to the main interface, set denoising strength to 1 (which means that AI will regenerate this part entirely).

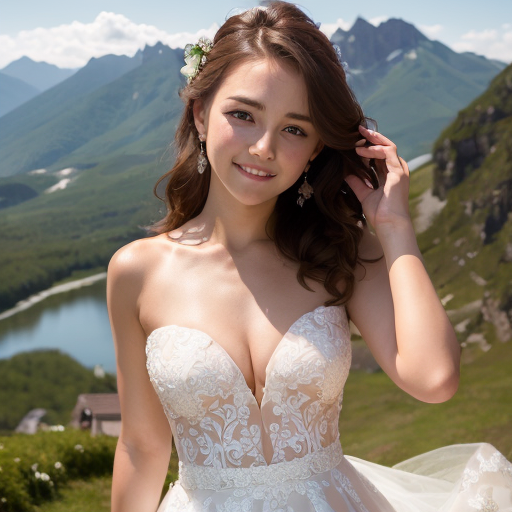
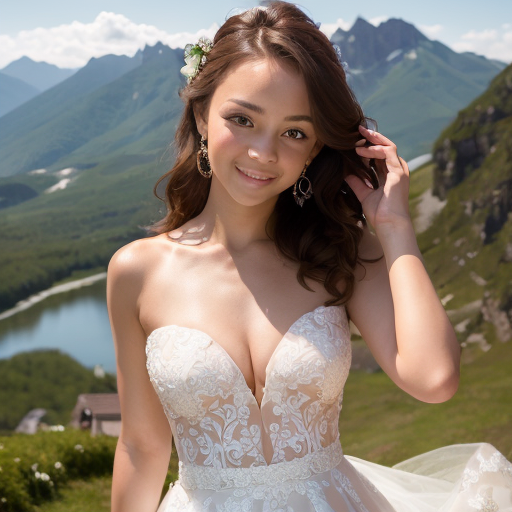
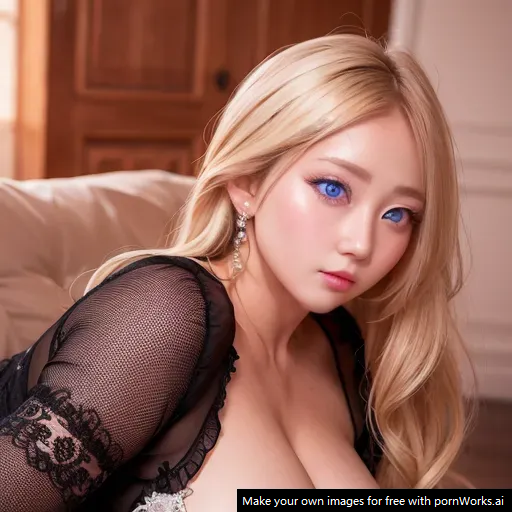
Next, we will change the prompt from blonde natural beauty to (j-pop girl), (k-pop girl).
After regeneration, you can see that the face has been replaced with another race, while maintaining the blue eyes and other requirements.
Sampler
It is recommended to use the default DPM++ 2M Karras sampler. This is an advanced setting and usually does not need to be changed.
CFG
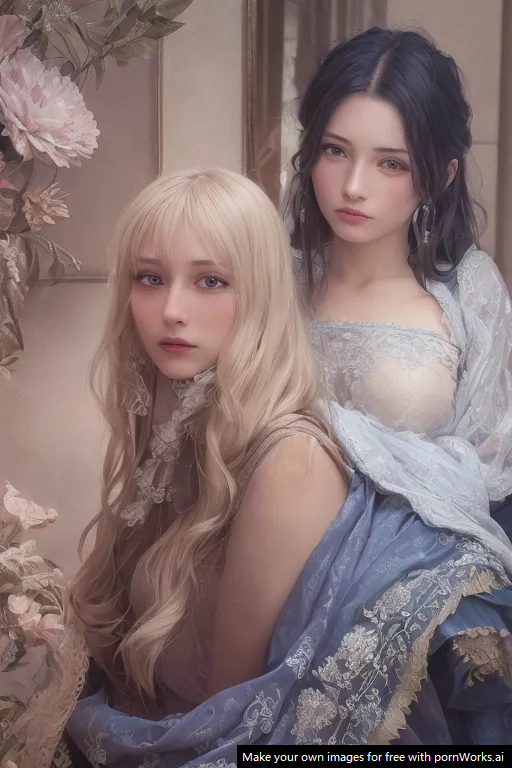
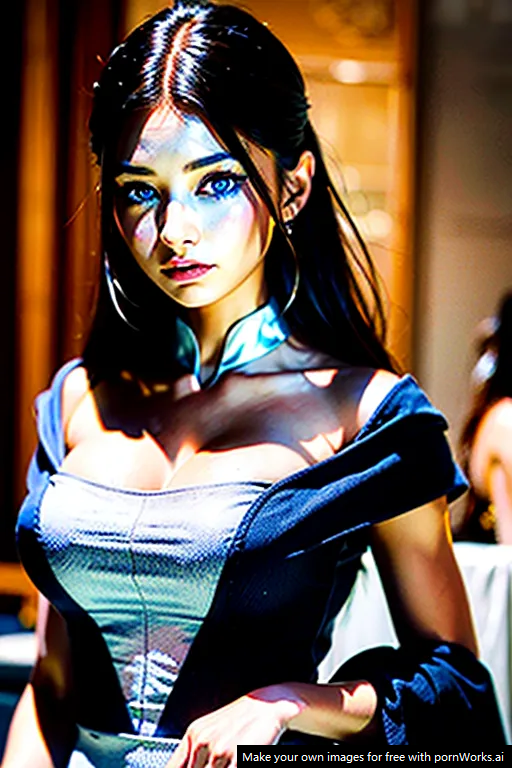
This is an advanced setting that determines to what extent the AI follows your prompt. When CFG is low, AI is more creative, but the image may be unstable. When CFG is high, the image will be more stable, but an excessively high CFG can distort the image. Generally, it is recommended to set CFG between 7 and 12, depending on the specific prompt.
| CFG Too Low |
CFG Too High |
 |
 |
- Go to the Community to see the settings and effects others have generated.
- Go to Generate to start generating.
- Return to the Blog.
